

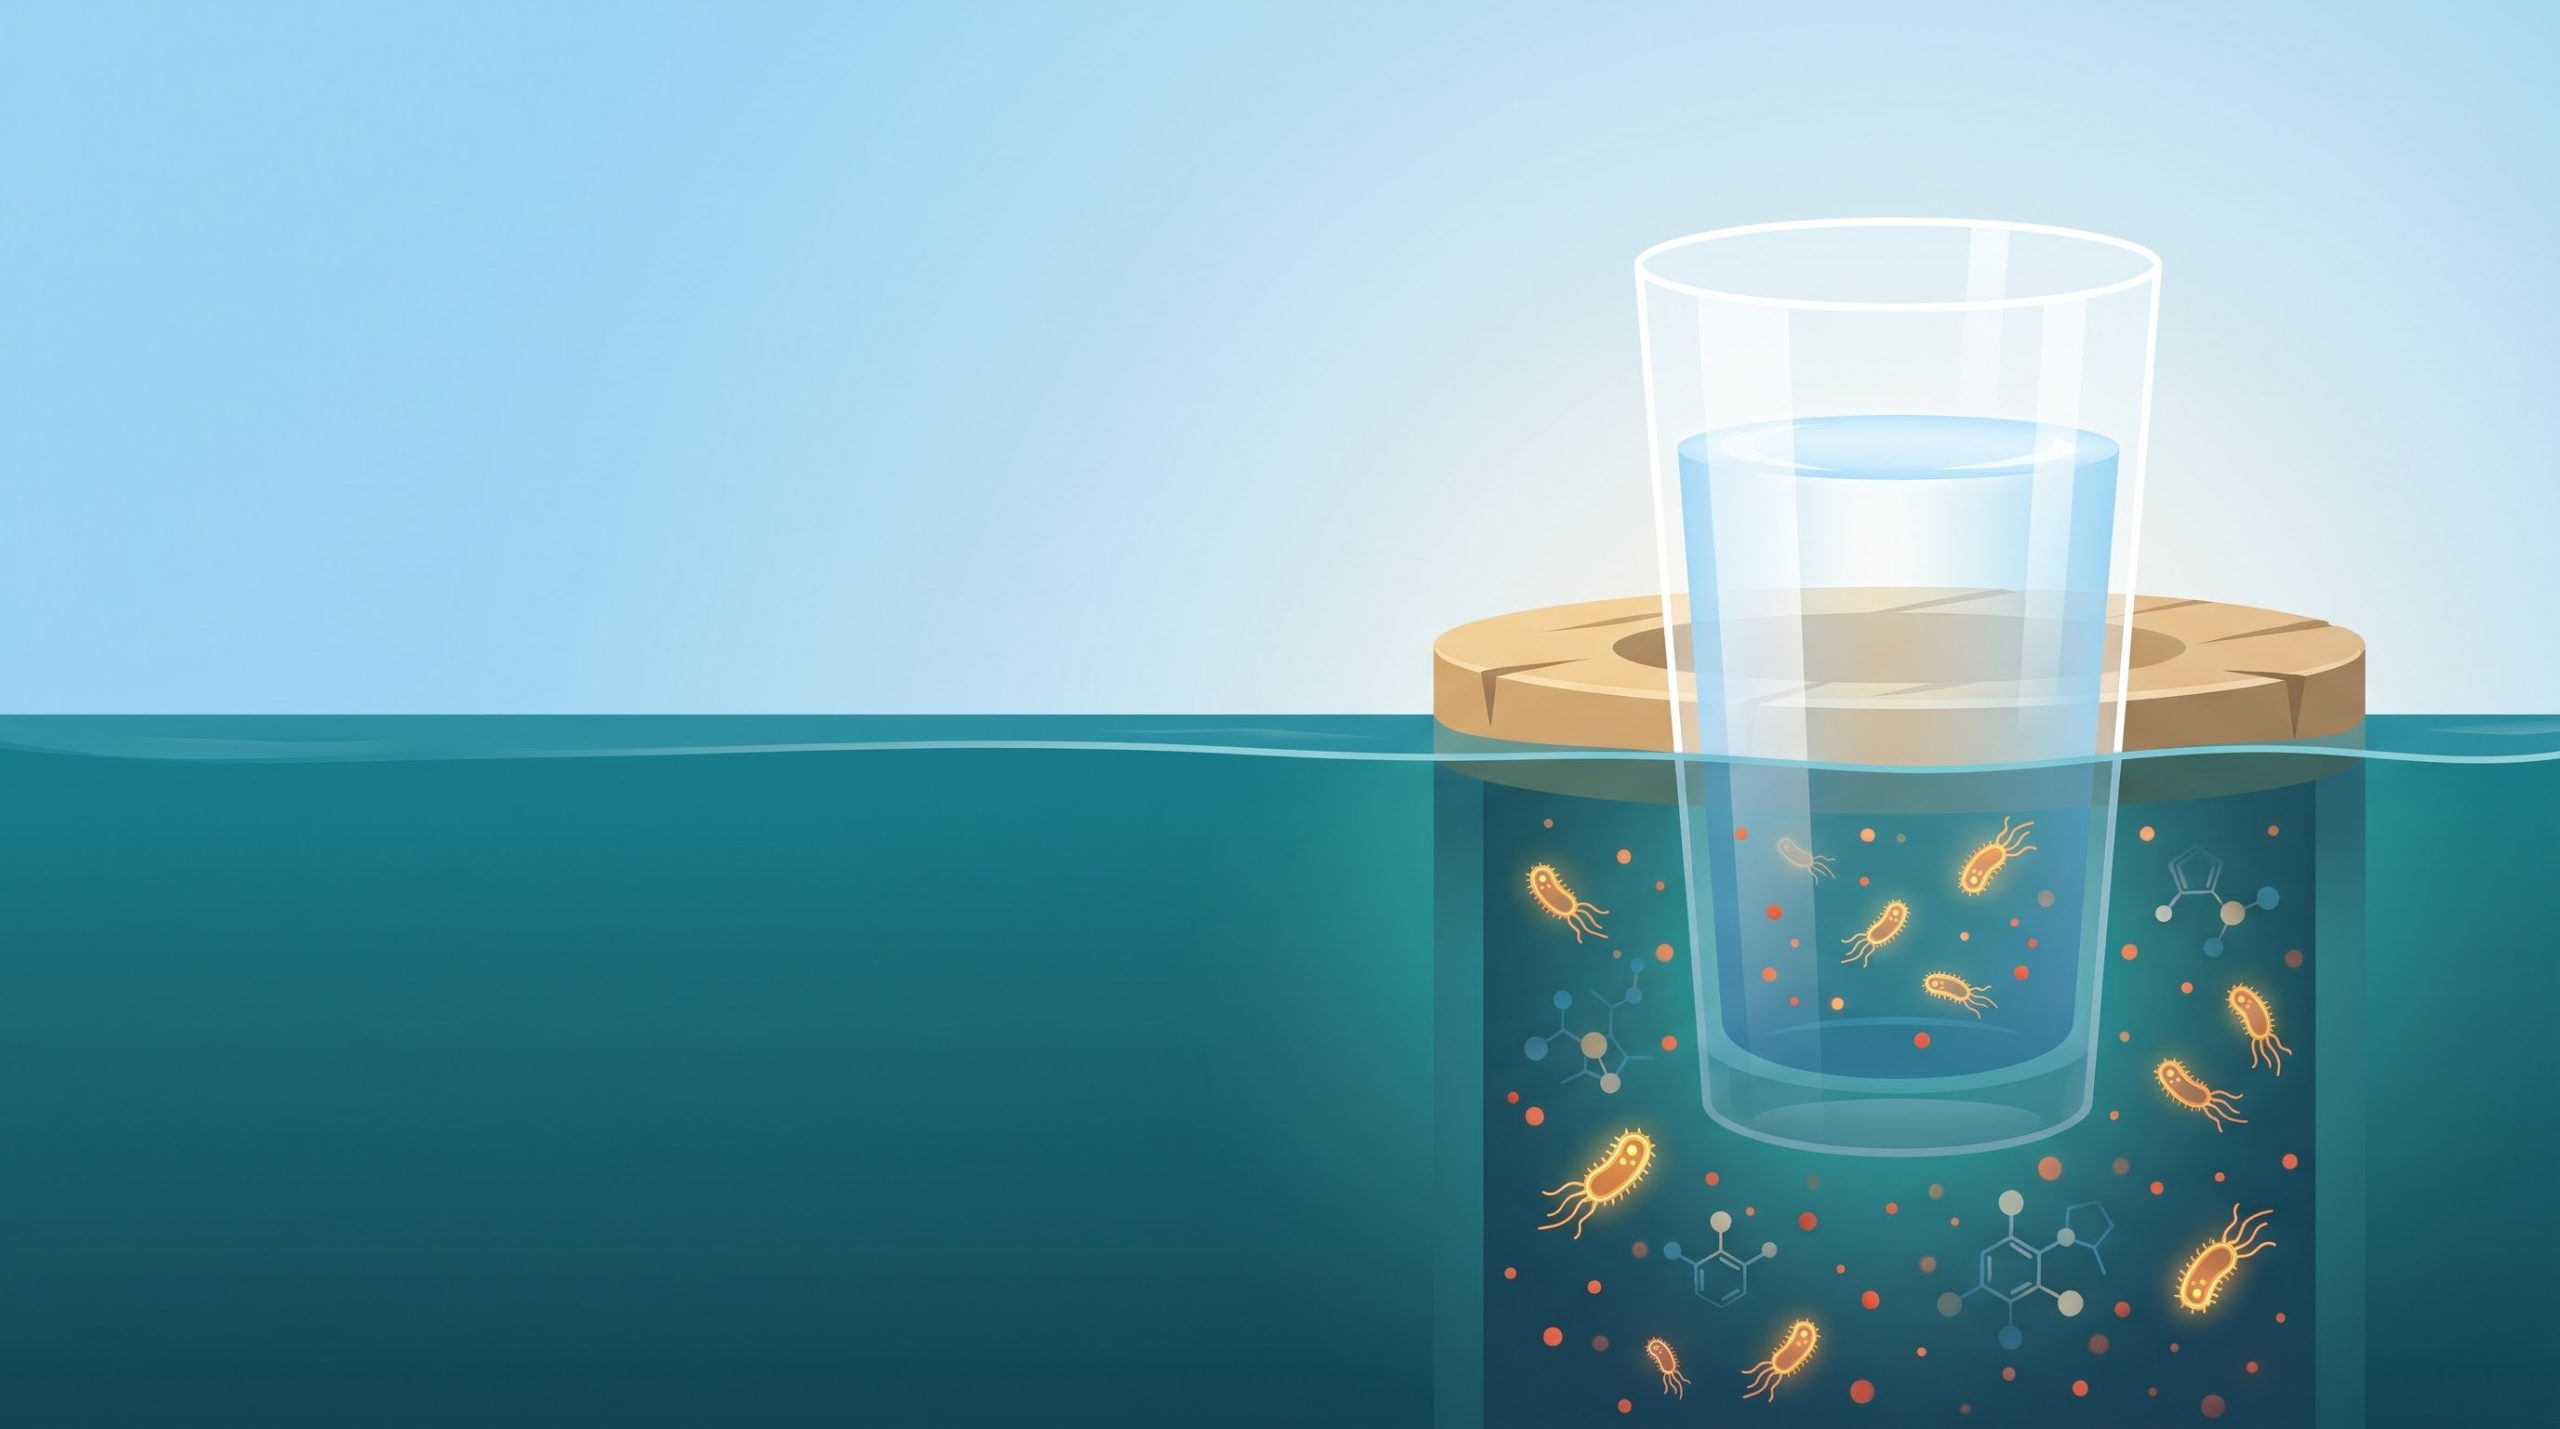
Your well water looks fine. It smells fine. Your family drinks it every day. And that is exactly why it deserves a lab test.
Bacteria, nitrates, and arsenic don’t announce themselves. Clear, odorless water can carry levels that are unsafe for a newborn, while water that smells like a struck match is often just harmless iron-related bacteria or sulfur. Your senses can’t sort the dangerous from the merely annoying. A properly collected sample can.
Quick answer: To test well water, order a kit from a state-certified lab, run the cold tap for five minutes, fill the sterile bottle without touching its inside, complete the chain of custody form, and keep the sample cold. Deliver it to the lab within 30 hours for accurate results.
Unlike city water, a private well is not regulated by anyone. The EPA sets safe limits for public systems, but as a well owner you are your own water utility. Nobody monitors your supply, nobody mails you a quality report, and nobody calls when something changes. This guide walks you through the whole job: reading warning signs, choosing between a DIY kit and a certified lab, collecting the sample without ruining it, filling out the paperwork, budgeting for the cost, and understanding what to do when a number comes back red. If you want a second walkthrough of the sampling basics, our earlier step-by-step guide to sampling, labs, and results covers the fundamentals.
1. Warning Signs: What Your Water Is Trying to Tell You
Start with what you can see, smell, and taste. These clues don’t replace a lab report, but they tell you what to ask for and how urgently.
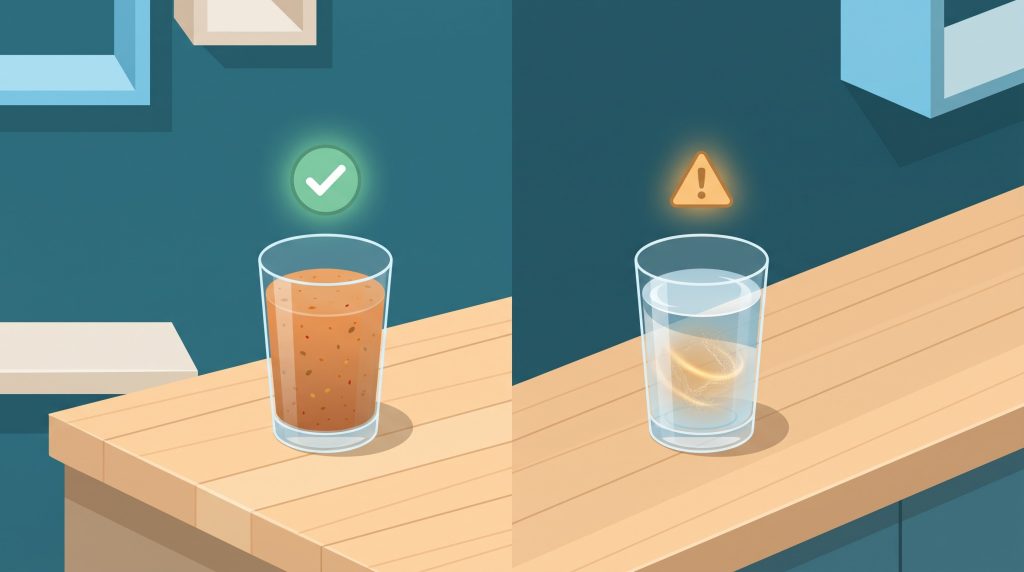
Nuisance Signs vs. Health Signs
Here is the catch most homeowners miss. Many of the most obvious problems are cosmetic, and many of the most dangerous ones are invisible.
| What you notice | Likely cause | Health concern? | Test priority |
|---|---|---|---|
| Rotten-egg smell | Hydrogen sulfide gas | Mostly aesthetic, but corrodes plumbing | Medium |
| Orange or rust stains in toilets and sinks | Iron (ferrous or ferric) | Usually cosmetic | Medium |
| Black or brown staining on laundry | Manganese | Cosmetic at low levels | Medium |
| Blue-green stains around fixtures | Copper from corroding pipes | Possible, especially for infants | High |
| White crust on faucets, cloudy kettle | Hardness (calcium, magnesium) | No | Low |
| Metallic taste | Iron, manganese, or low pH | Possible | Medium |
| Stomach upset in the household | Bacteria or parasites | Yes | Urgent |
| Nothing at all | Arsenic, nitrate, radon, coliform | Yes | High |
That last row is the one to remember. Nitrate has no color, taste, or smell, and it is most dangerous to infants under six months, where it can interfere with how blood carries oxygen. Arsenic behaves the same way.
Events That Mean Test Now, Not Next Spring
Some situations shouldn’t wait for your annual schedule. Test promptly after:
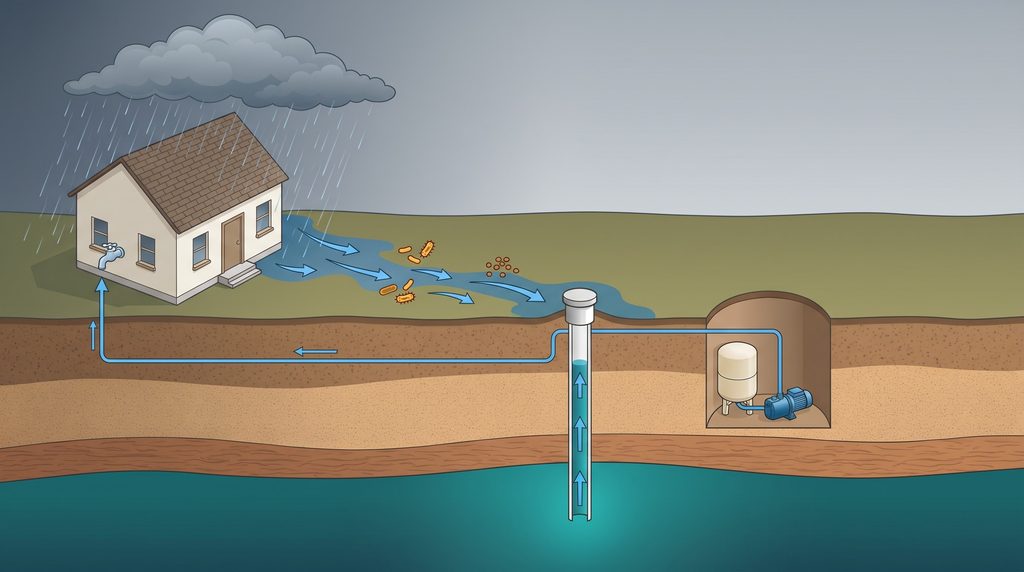
- Flooding or heavy runoff around the wellhead. A hard rainstorm can push surface water, soil bacteria, and livestock or septic waste toward a shallow or poorly sealed well. Coliform counts that were clean in August can spike after a week of storms.
- Nearby construction, excavation, or drilling.
- Pesticide or fertilizer application on neighboring fields.
- A change in taste, color, or odor, or a pump that suddenly cycles differently.
- A new baby, a pregnancy, or a household illness with no clear cause.
Warning: If a flood has covered your wellhead, don’t drink the water or give it to pets until it has been disinfected and retested. Boiled or bottled water is the safe stopgap.
2. DIY Kits vs. Certified Laboratories
This is where most people stall. A hardware-store kit costs a few dollars and delivers an answer in minutes. A lab test costs more and takes days. The right choice depends on what you need the result to do.
The Accuracy Trade-Off
Home test strips are semi-quantitative. You dip, wait, and match a color against a chart, which works for rough readings of hardness, pH, or chlorine. It does not work well for lead or arsenic, where the difference between safe and unsafe is measured in parts per billion and a color chart simply can’t resolve it. State-certified laboratories use instruments such as mass spectrometry and calibrated analytical methods that can.
| DIY test strips | State-certified lab | |
|---|---|---|
| Typical cost | $10 to $40 | $30 to $500+ depending on panel |
| Turnaround | Minutes | 3 to 10 business days |
| Accuracy | Rough, color-matched | Quantified, parts per billion |
| Detects bacteria reliably | Limited | Yes |
| Accepted for mortgage or real estate | No | Yes |
| Best use | Screening, tracking pH or hardness | Baseline, health decisions, legal needs |
If you are buying or selling a property, a lab report is not optional. Lenders and buyers want certified numbers. Our well water testing guide for home buyers explains which tests lenders usually require before closing.
Reading the EPA Limits Without a Chemistry Degree
Your lab report will compare each result against EPA standards. The EPA’s national primary drinking water regulations set enforceable limits, called Maximum Contaminant Levels (MCLs), for public systems. Private wells aren’t bound by them, but they are the best yardstick available. There are two tiers:
- Primary standards protect health. Exceeding them means act.
- Secondary standards cover taste, odor, and staining. Exceeding them means annoying, not dangerous.
| Contaminant | Standard | Type | What it means |
|---|---|---|---|
| Total coliform / E. coli | Zero detected | Primary | Any E. coli means fecal contamination |
| Nitrate (as nitrogen) | 10 mg/L | Primary | Critical for infants and pregnancy |
| Arsenic | 10 µg/L (ppb) | Primary | Long-term exposure raises cancer risk |
| Lead | 15 µg/L action level (EPA is moving toward 10) | Primary | No safe level for children |
| Iron | 0.3 mg/L | Secondary | Staining and metallic taste |
| Manganese | 0.05 mg/L | Secondary | Black staining, taste |
| pH | 6.5 to 8.5 | Secondary | Corrosion and taste |
| Total dissolved solids | 500 mg/L | Secondary | General mineral content |
A quick note on TDS meters: those handheld pens measure how much is dissolved in the water overall. They can’t tell you whether any of it is lead, a pathogen, or a solvent. Useful for spotting change, useless for judging safety.
3. The Faucet-to-Bottle Protocol: Collecting a Sample That Won’t Get Rejected
Most failed tests aren’t failures of the water. They are failures of the sampling. A single fingertip inside a sterile bottle can produce a false positive and cost you a retest plus a week of worry. Follow the lab’s instructions first, because their rules override any general guide, and use the steps below as your working routine.
Before You Start
Gather these items:
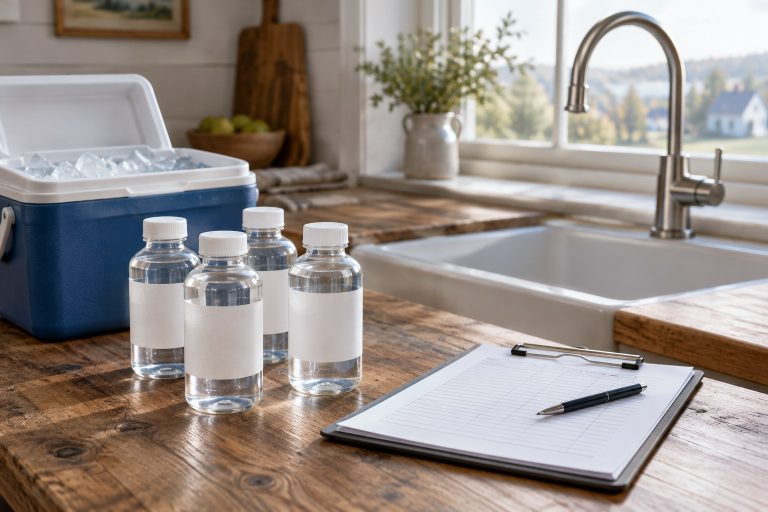
- The lab’s sterile bottles (never substitute a bottle from home)
- Rubbing alcohol wipes or a dilute bleach solution for the tap
- A cooler with ice packs
- A pen and the lab’s chain of custody form
- Clean, dry hands, ideally with fresh gloves
Select the right faucet. Pick a cold-water tap that is as close to the well as possible, ideally before the water softener or any treatment system. An outdoor spigot works if it has no hose attached and no leaks. Avoid swivel faucets, drippy taps, and anything with a filter.
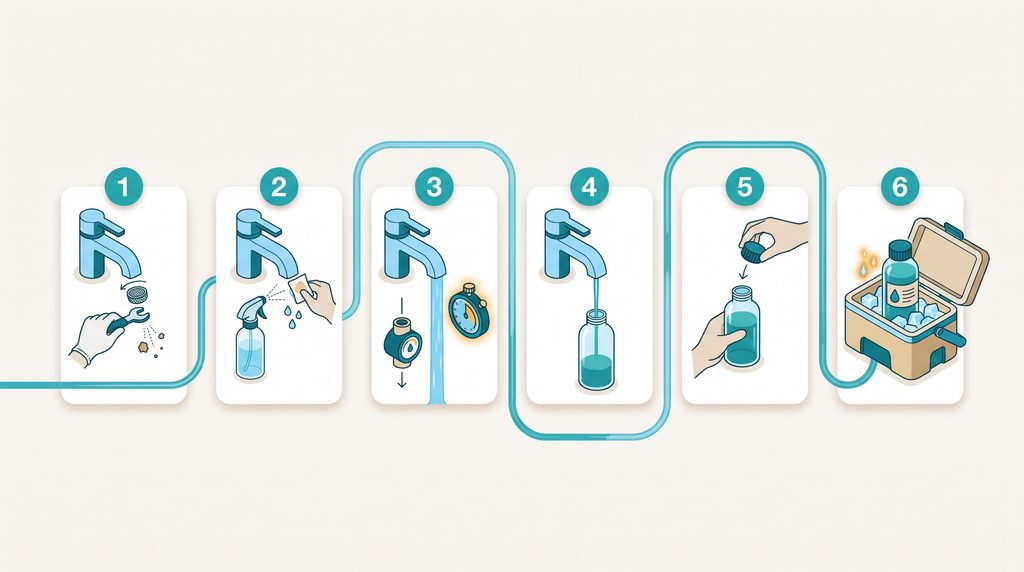
Step by Step
- Remove the aerator. Unscrew the little screen at the tip of the faucet. It traps sediment and biofilm that will contaminate your sample. Also take off any bypass filter or carbon insert.
- Sanitize the tap. Wipe the spout inside and out with an alcohol wipe, or spray with a diluted bleach solution and let it sit for a minute. Some people flame-sterilize metal taps with a lighter, but never do this on plastic, and never near anything flammable.
- Purge the lines. Run the cold water on a steady stream. For a bacteria sample, five minutes is the usual minimum. For chemical panels, especially if the system has sat idle for a while, plan on 15 to 30 minutes so you clear the pressure tank and the plumbing and pull fresh water from the aquifer. Don’t use hot water at any point.
- Reduce the flow. Drop to a pencil-thin stream so you can fill the bottle without splashing.
- Fill the bottle. Hold the cap with the inside facing down. Don’t touch the rim, the inside of the cap, or the inside of the bottle. Don’t rinse the bottle, because many contain a preservative such as sodium thiosulfate that neutralizes chlorine. Fill to the line the lab specifies and leave a small air gap if they ask for headspace.
- Cap, label, and chill. Close tightly, write your name, the date, and the time on the bottle, and place it in the cooler right away.
Working Out Your Purge Time
The goal is to replace everything stagnant in your system. A simple estimate: pressure tanks commonly hold 20 to 80 gallons, plus the water sitting in pipes.
If your tap delivers about 5 gallons a minute, a 60-gallon cycle takes roughly 12 minutes to flush through, and you want to run longer than that to be safe. Calculate this way and you’ll know your sample came from the aquifer, not the tank.
Try your own numbers below.
About 12 minutes to flush the volume. Run a few minutes longer to be safe.
Mistakes that ruin a sample: freezing it, leaving it in a hot car, touching the bottle’s interior, sampling after hot water ran through the line, or waiting too long to deliver it.
4. Choosing a Lab and Handling the Paperwork
Finding a State-Certified Lab
Your state certifies laboratories that are approved for drinking water analysis, and that certification is what makes results trustworthy. The EPA keeps a directory of drinking water laboratory certification programs with contacts for each state, and your county health department can usually point you to local options. Many certified labs will mail you a kit and accept samples by courier, drop-off, or overnight shipping.
Before you order, ask three questions:
- Which test panel do you recommend for a private well in my region?
- What is the maximum time from collection to delivery?
- Do you provide a chain of custody form, and do you accept shipped samples?
Which Tests to Request
A basic screen covers total coliform, E. coli, nitrate, pH, and total dissolved solids. A comprehensive panel adds metals such as arsenic, lead, iron, manganese, and copper, plus hardness, sulfate, and sometimes radon and volatile organic compounds (VOCs). If you farm, live near industry, or have ever noticed a chemical or fuel-like odor, VOCs belong on the list. If your region has granite bedrock, ask about radon and uranium.
The Chain of Custody Form
The chain of custody form is the lab’s record of who collected the sample, when, and how it was handled. It is also where most rejected samples go wrong, usually because the time on the form doesn’t match the time written on the bottle. Fill it out slowly:
- Sample ID, written exactly as it appears on the bottle
- Collection date and time, to the minute
- Sampling location, such as “kitchen cold tap, before softener”
- Water temperature, if requested
- Your signature and contact details
- The tests you want performed
Double-check every field before you seal the cooler.
Holding Times and Delivery
Bacteria are the clock-watchers. Most labs want coliform samples delivered within 30 hours, kept between roughly 34 and 50 degrees Fahrenheit and never frozen. Schedule sampling early in the week so a Friday sample doesn’t sit in a courier’s truck all weekend.
5. What a Well Water Test Costs
Prices vary by state and lab, but here are realistic ranges to plan around.
| Test | Typical cost |
|---|---|
| Basic bacteria screen (coliform, E. coli) | $20 to $60 |
| Nitrate | $20 to $50 |
| Basic homeowner panel (bacteria, nitrate, pH, TDS) | $75 to $150 |
| Arsenic | $30 to $75 |
| Lead and copper | $40 to $100 |
| VOC screen | $100 to $300 |
| Radon in water | $50 to $150 |
| Comprehensive private well panel | $150 to $500+ |
A comprehensive panel feels expensive until you compare it with the cost of treating a problem you didn’t know about. For most households the sensible approach is one comprehensive baseline test, then yearly follow-ups for bacteria and nitrate.
6. Reading Your Results and Fixing Problems
When the report arrives, scan for anything flagged against a primary standard first. Everything else can wait.
If coliform bacteria are present: Don’t panic, and don’t drink the water untreated. Boil it for at least one minute, or use bottled water, while you inspect the wellhead for cracks, a loose cap, or pooling water. Shock chlorination, which disinfects the well and plumbing with a measured chlorine dose, is the standard fix. Retest after the system has been flushed clear. A positive E. coli result means fecal contamination and should be treated as urgent. Your local health department can advise on next steps.
If nitrate is high: Boiling makes it worse by concentrating it. Switch infants to bottled water right away. Reverse osmosis or anion exchange systems can remove nitrate over the long term.
If arsenic or lead is high: Look for treatment certified to the relevant NSF/ANSI standard. Reverse osmosis at the kitchen tap is common for drinking and cooking water, and specialty media systems handle arsenic at the whole-house level.
If iron, manganese, or sulfur are the issue: You are in cosmetic territory. Oxidizing filters, softeners, or aeration solve most of it.
For general private well guidance from the source, the EPA’s private wells page is worth bookmarking. If you ever wonder whether your humidifier or other household water uses call for a different water type, our piece on distilled water for humidifiers is a useful side read, and if you are weighing a portable filter for backup or travel, see our Sawyer Squeeze water filter review.
7. Frequently Asked Questions
How often should I test my well water?
Test for coliform bacteria, nitrate, pH, and TDS every year. Run a broader panel for metals and other contaminants every three to five years, or sooner if you notice changes, a flood occurs, or there’s new activity near your property.
Will a pitcher filter remove lead and arsenic from well water?
Most pour-through pitchers are designed for taste and chlorine, and few are certified for arsenic. Some are certified for lead, but you should check the label for the specific NSF/ANSI standard. For reliable removal, an under-sink reverse osmosis unit or other certified system is the stronger choice.
Can I use a digital TDS meter instead of a lab test?
No. A TDS meter measures total dissolved material and can’t identify bacteria, lead, nitrate, or chemicals. It can help you spot changes between lab tests, but it can’t tell you whether the water is safe.
How long can a water sample sit before it reaches the lab?
For coliform bacteria, plan for delivery within 30 hours, kept cool but never frozen. Chemical samples are more forgiving, but follow the instructions printed on your kit.
What if my first test is clean? Do I still need to retest?
Yes. A clean result is a snapshot, not a guarantee. Wells change with seasons, rainfall, and nearby land use, which is why the yearly bacteria and nitrate check matters.
Protect Your Family’s Water This Week
You drink it, cook with it, and mix baby formula with it. Learning how to test well water takes an afternoon, and it replaces guesswork with numbers you can act on. Find a state-certified lab, request a comprehensive baseline panel, and put a yearly bacteria and nitrate check on your calendar.
Ready to start? Order your well water test kit from a certified lab today, collect your sample using the steps above, and get the answers your family deserves. Use the purge time calculator above to plan your sampling day.
This article is for general education and isn’t a substitute for advice from your local health department or a certified water professional.



[…] Well water with iron and manganese […]
[…] Your interpreter sends all detections to RIDOH within 15 days. For help with the numbers, read our guide to reading lab results against EPA limits. […]